In order for participants to play on the interactive floor surface they first need to collect game-time by climbing the stairs in the building. I’m installing barcode scanners on the stairwell platforms between each floor, each time a participant passes a scanner they may scan their ID card (which fortunately has a barcode on the back!), which will add one game onto their account (this will work through a PHP script adding a record into a MySQL database, and will be the focus of a further blog post).
In order for this to work well, the scanner must be fast, reliable and easily accessible; if scanning adds significant time to the users journey up the stairs then they are unlikely to use them. Other solutions could have included using Bluetooth or RFID tags (also included in the ID card!), but both of these solutions are significantly more expensive to implement.
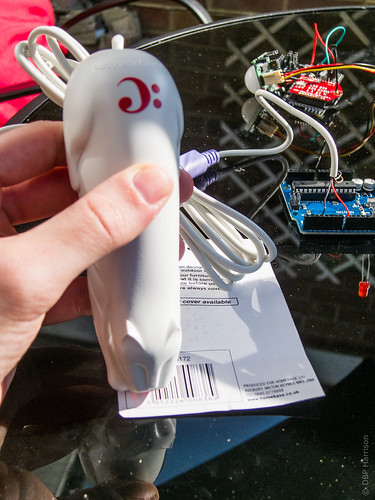
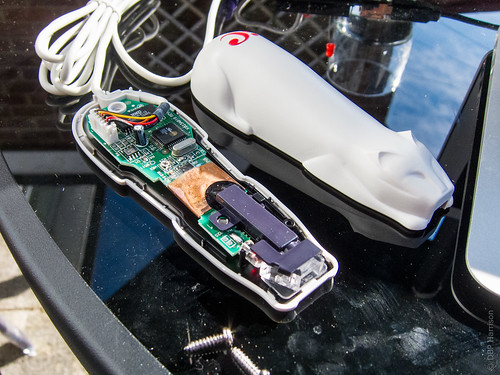
The barcode scanners we’ve decided to use are “CueCats“, these are cat-shaped barcode scanners that were freely distributed to residents of the US in 2000 and early 2001, they offered a solution similar to what QR codes do now. The user would plug the device into their keyboard PS/2 port, then when a cuecat barcode was scanned software on the computer would open a link in an internet browser. Unfortunately the project didn’t work, and when the company closed its doors in 2001 there were still millions of Cuecats about, many of which had not even been distributed. We purchased 10 brand-new CueCats from a seller on US eBay, after postage and tax they ended up costing only a little more than £10 each, they arrived last week and over the weekend I have begun working with them on an Arduino. Click to read more!
One concern I had with using CueCats was in their reliability and speed of scanning- I had read a few projects where other people were using them to scan barcodes on books and other household items where they said that sometimes a barcode needed a repeat scan or two in order to read. In my project this could be disastrous, if a scan fails then the user is unlikely to stop walking and reattempt the scan, and if this happens frequently it would not only be frustrating but may also prevent them from continuing to use the system. Another important consideration is how I let the user know if a scan has been successful or not- users in the building are currently used to getting both visual and audio feedback when they scan their ID card to open doors- replicating this would make sense.
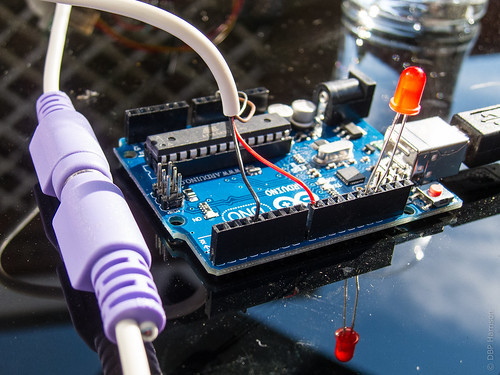
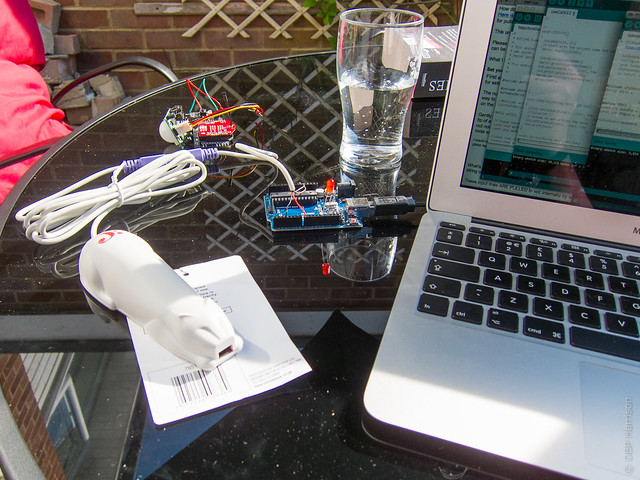
So, onto testing the CueCats… I wired one up onto an Arduino and set about testing their reliability of scanning. I modified the Arduino PS/2 International Keyboard sketch, and set it to print the input over the serial connection on each run. The data sent to the Arduino is in the format “.111.222.333.”. The first part contains a unique identifier for the scanner itself- this was the source of controversy for their original use because people were concerned that digital convergence (the producers of the cuecat) were unreasonably tracking usage. The second part relates to the type of barcode being read, and the third part is the barcode itself.
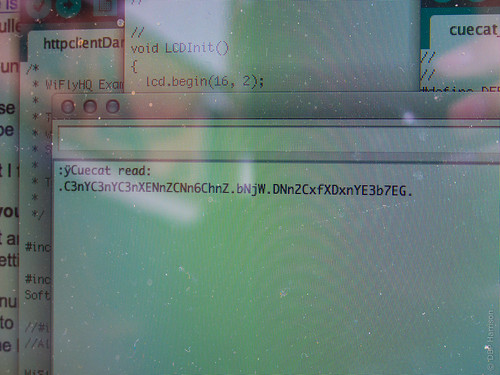
The screen above shows what is output from the CueCat after each scan, in my tests the cats have been absolutely flawless, and have been able to scan every barcode I’ve tried. I’ve of course also scanned my ID card and sure-enough it is scanned quickly, reliably and without issue- perfect!
As you can see, the output above doesn’t bare much resemblance to a traditional barcode- it’s not exactly what you would expect to see coming from the scanner. Because of their original use their output is encrypted; in order to get the unencrypted output we have two options- we can either decrypt in software, which is fairly trivial, or we can make a hardware modification to the Cat so that the output is no longer encrypted. Although it is fairly straightforward to decrypt what is sent, it’s often even easier to do a small hardware modification- this also means there’s less load on the Arduino, so it should be slightly more responsive and the batteries should last slightly longer.
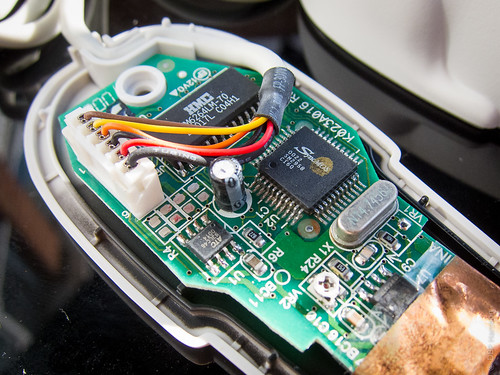
In order to find out how difficult the hardware modification is, open the CueCat up and look for a number on the board.
The version I have is a “L023A016 Rev 3”, a quick search on the internet and I’ve got instructions on how to “declaw” the cat- it turns out that I need to break the connection to just one pin on the board, and the output will no longer be encrypted.
Unfortunately I’ve not got a small enough soldering iron at home, so I’ll do this in the lab later in the week- it should hopefully be easy enough to melt the solder and lift the appropriate leg without damaging anything else!
I was also concerned about the power-usage of the CueCats, as the units were not designed for this sort of use there is no datasheet available, and I’ve not seen anything better than an estimate of power-draw online. Using my (fairly nasty!) multimeter on my set-up I’ve seen a fairly steady power draw of just 28ma when either idle or scanning- this is low enough to be of little concern to me in my application.
I now need to put the CueCat together with my PIR counters, and make them wifi compatible (probably using an Xbee shield and an RNXV) within the coming weeks, I’ll keep this blog updated as things progress!